I had a little mommy sabbatical in July when I got to house sit for my folks. A craft store that's close to their house had a class slated for the week I was there. The instructor let us use her Copic markers to get the general idea of how they worked. We colored in a variety of stamped images to try some different techniques.
This past month they had a second class where we got to put those techniques to use on a few cards. Here are my results:
 |
| Card 1 - outside |
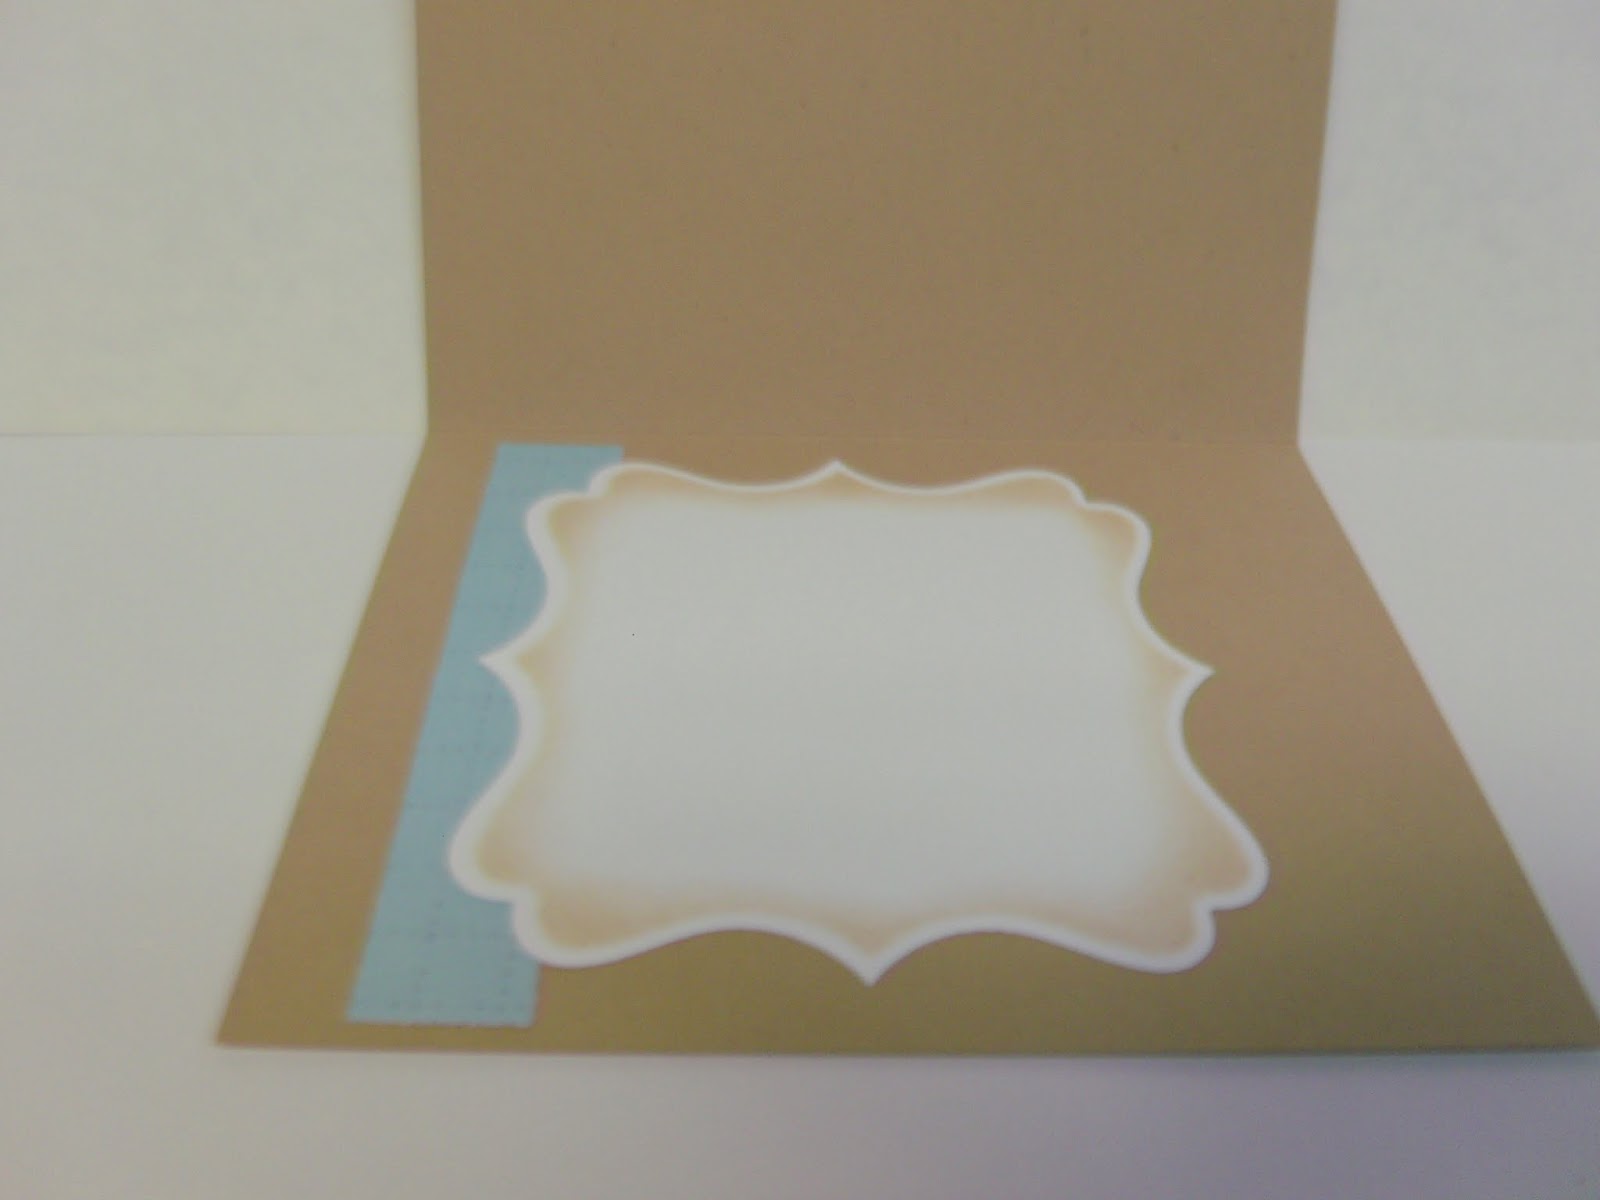 |
| Card 1 - inside |
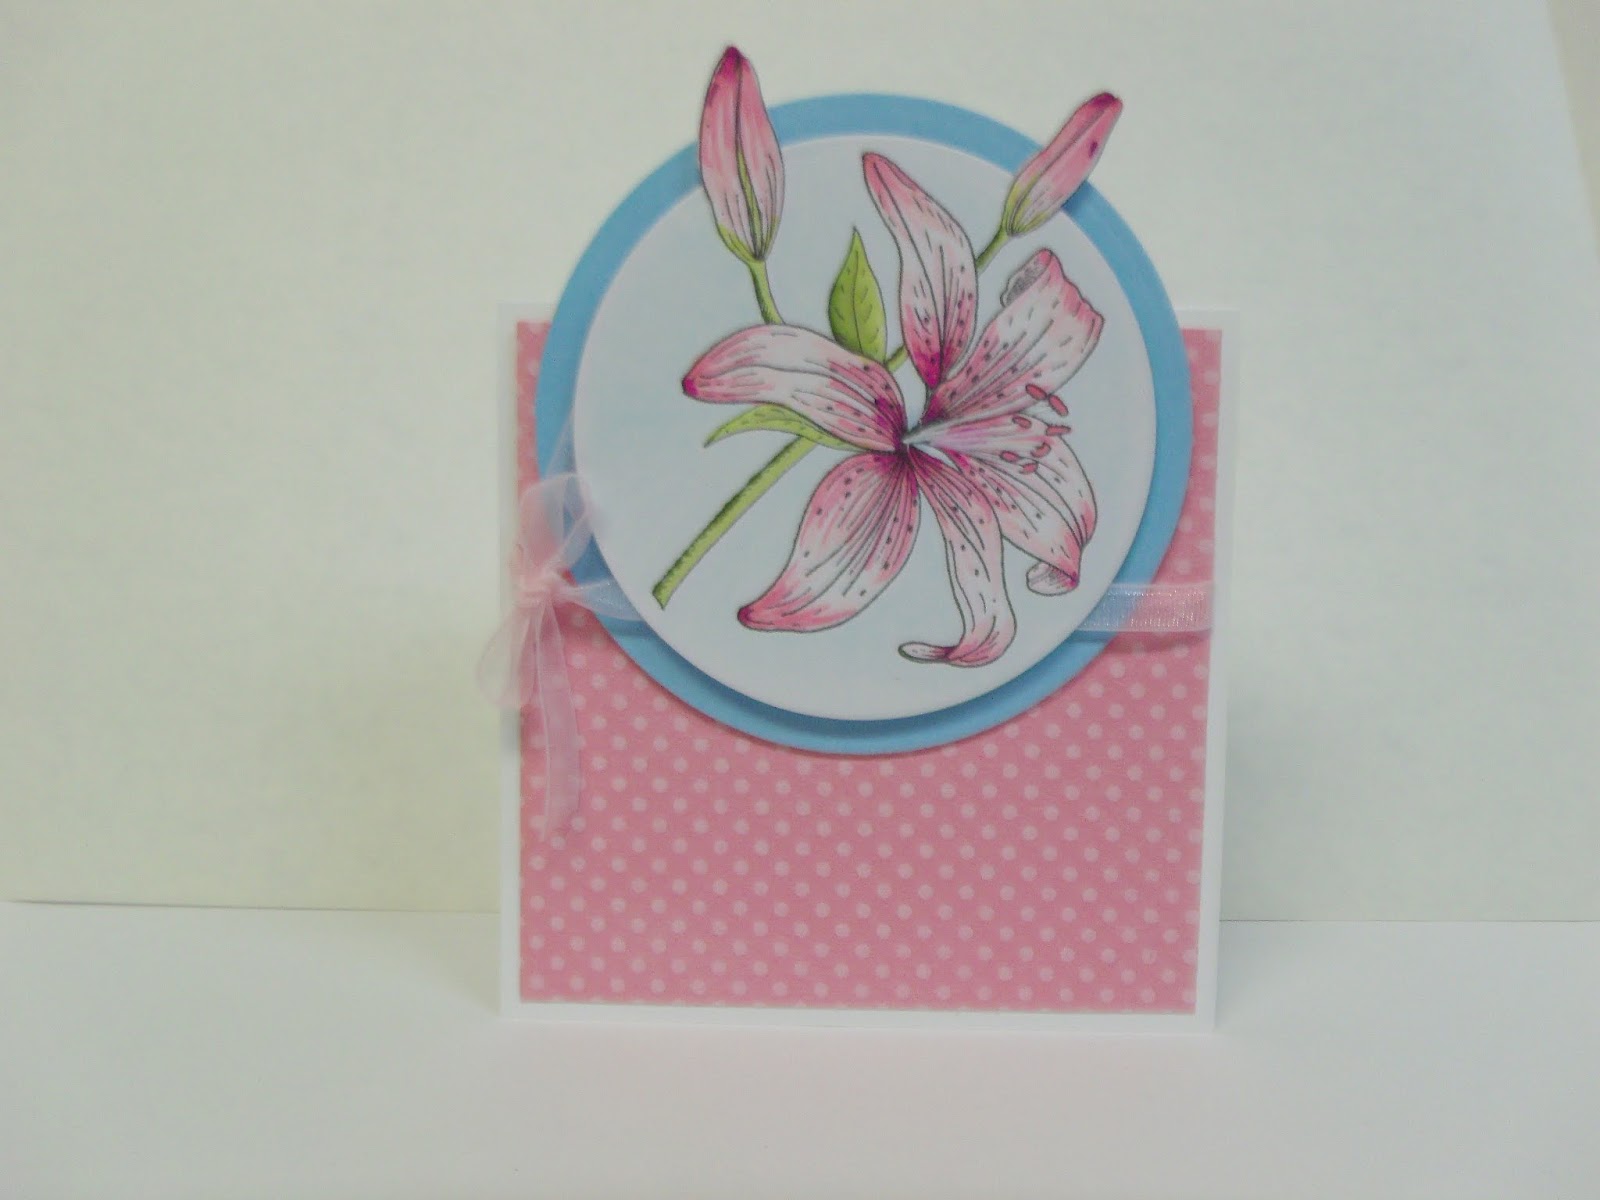 |
| Card 2 |
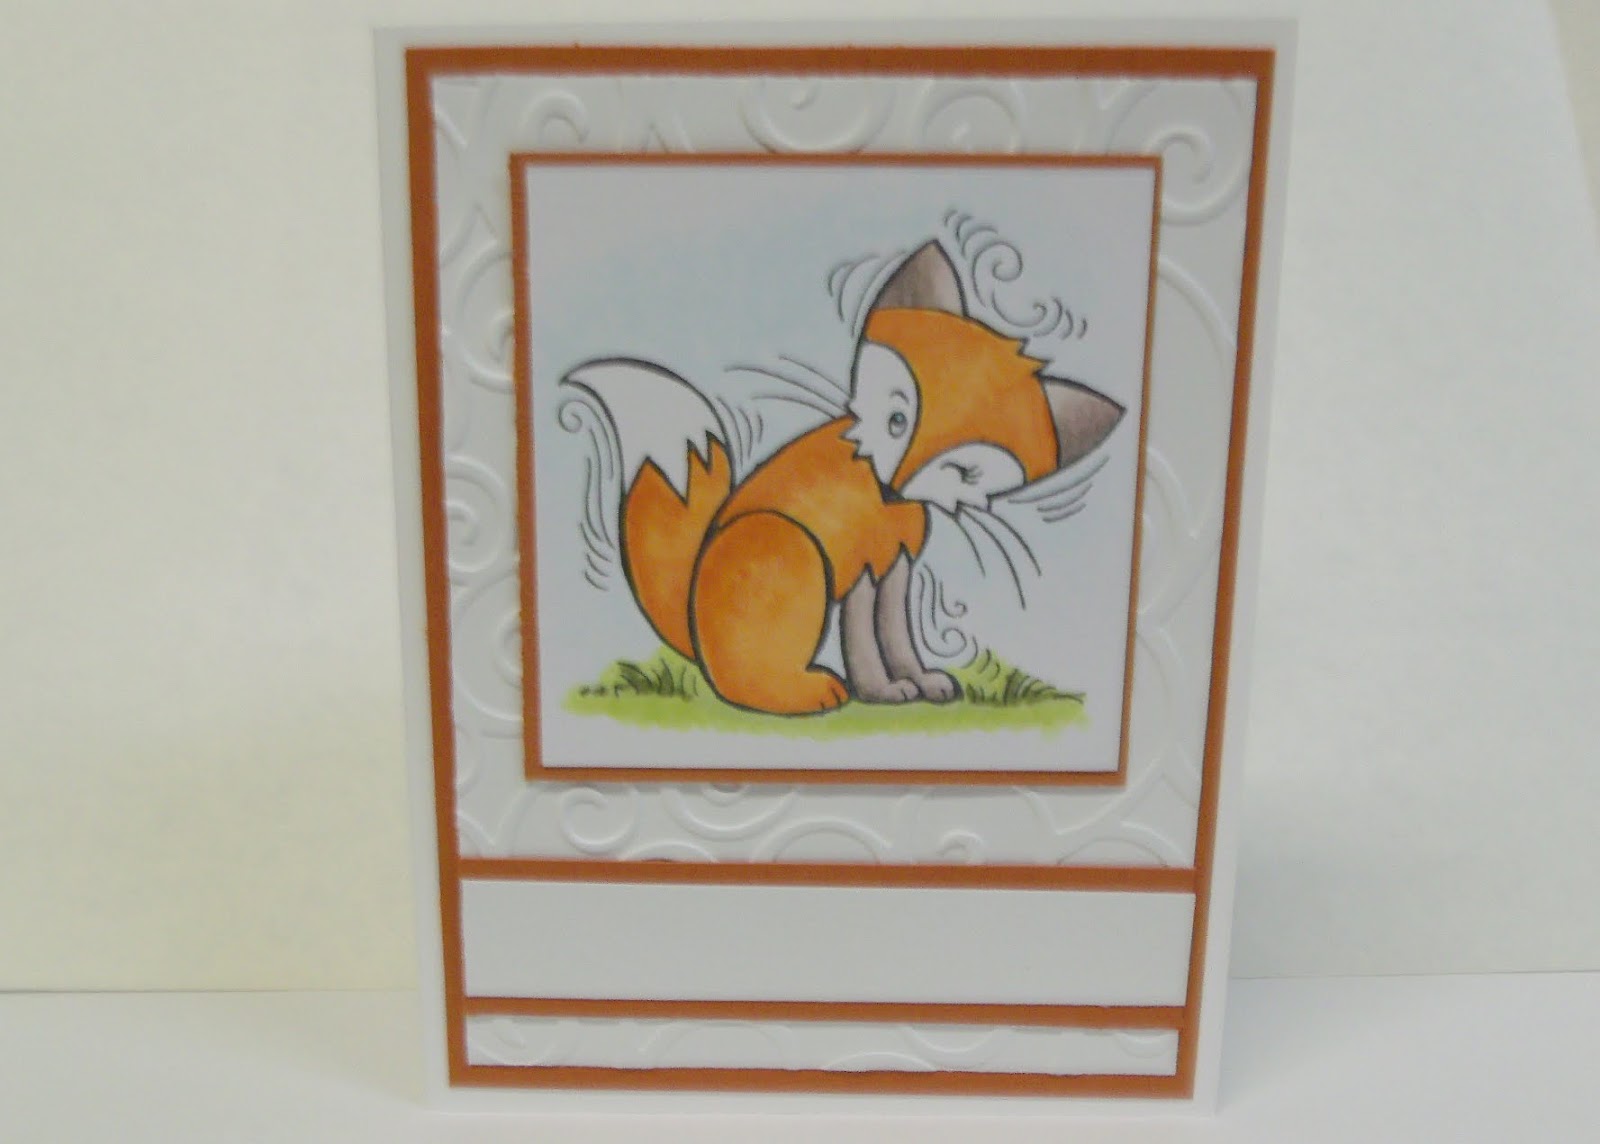 |
| Card 3 with blank space for future sentiment |
I don't have all the details because the cards were pre-designed and pre-cut for the class.
I'll give you what I know though.
Card 1:
stamps: girl image (Magnolia) sentiment (unknown)
markers: Spectrum Noir (FS2, FS3, FS6, PP1, TN2, TN7, TN8) and Copic (YR14, BG45, BG49)
ink: Memoir
tool: Nestabilities label die
cardstock, patterned paper, pearl embellishments, twine (unknown)
We used a white gel pen to add the polka dots on the dress after it dried. I also used YR14 and BG45 to color the flowers and then added little pearls.
Card 2:
stamp: lily image (unknown)
markers: Spectrum Noir (BP6, PP5, PP3, PP1, CG1, CG2, DG3) and Copic (B0000, 0)
ink: Memoir black
tool: Nestabilities circle die
cardstock, ribbon, patterned paper (unknown)
We used the white gel pen again to go over the flower stamens after the markers were dry.
Card 3:
stamp: fox image (unknown)
markers: Spectrum Noir (CG1, CG2, DG4, BG4, BG6) and Copic (B0000, 0, YR14, YR18)
tool: embossing folder (unknown)
cardstock (unknown)
No comments:
Post a Comment
Your kind comments make me smile!